- Vérifiez si votre VPS/Dédié est sous Ubuntu 20/18, Debian 9/10 ou CentOS 7/8
⚠️ Si c'est un VPS, vérifiez bien que c'est un VPS KVM. Pterodactyl ne fonctionnera pas sur un VPS OpenVZ.
- Installer ces différents paquets :
sudo apt-get install bash curl wget
- Entrez cette commande :
bash <(curl -s https:
- Choisissez 2 puis appuyez sur votre touche entrée :
* [0] Install the panel
* [1] Install Wings
* [2] Install both [0] and [1] on the same machine (wings script runs after panel)

* [3] Install 0.7 version of panel (unsupported, no longer maintained!)
* [4] Install 0.6 version of daemon (works with panel 0.7, no longer maintained!)
* [5] Install both [3] and [4] on the same machine (daemon script runs after panel)

* [6] Install panel with canary version of the script (the versions that lives in master, may be broken!)
* [7] Install Wings with canary version of the script (the versions that lives in master, may be broken!)
* [8] Install both [5] and [6] on the same machine (wings script runs after panel)
* Input 0-8: 2
- Appuyez juste 3 fois sur entrée :
######################################################################
* Pterodactyl panel installation script @ v0.6.0
*
* Copyright (C) 2018 - 2021, Vilhelm Prytz, <vilhelm@prytznet.se>
* https://github.com/vilhelmprytz/pterodactyl-installer
*
* This script is not associated with the official Pterodactyl Project.
*
* Running debian version 10.
* Latest pterodactyl/panel is v1.4.2
######################################################################
* debian 10 is supported.
########################################################################
* Database configuration.

* This will be the credentials used for communication between the MySQL
* database and the panel. You do not need to create the database
* before running this script, the script will do that for you.

* Database name (panel):
* Username (pterodactyl):
* Password (press enter to use randomly generated password):
- Écrivez
Europe/Paris puis appuyez sur entrée :
* List of valid timezones here https:
* Select timezone [Europe/Stockholm]: Europe/Paris
- Entrez votre email puis appuyez sur entrée :
* Provide the email address that will be used to configure Let
- Entrez de nouveau votre adresse email puis appuyez sur entrée :
* Email address for the initial admin account: example@example.xyz
- Choisissez un nom d'utilisateur puis appuyez sur entrée :
* Username for the initial admin account: example
- Mettez votre prénom puis appuyez sur entrée :
* First name for the initial admin account: Louis
- Mettez votre nom de famille puis appuyez sur entrée :
* Last name for the initial admin account: Dupont
- Choisissez un mot de passe puis appuyez sur entrée :
⚠️ Vous ne pouvez pas appuyez sur la touche effacer. Cela ne fonctionner pas, veillez donc à ne pas faire de faute dans votre mot de passe.
* Password for the initial admin account: **************
- Si vous souhaitez mettre un nom de domaine, faites une règle de type A vers l'IP de votre machine. Si vous souhaitez juste mettre une IP, vous pouvez ignorer. Ensuite, entrez votre nom de domaine ou votre IP puis appuyez sur entrée:
* Set the FQDN of this panel (panel.example.com): example.com
- Mettez
N puis appuyez sur votre touche entrée :
* Do you want to automatically configure UFW (firewall)? (y/N): N
- Si vous avez mis l'IP de votre machine à l'étape 13, mettez
N, Si vous avez mis un nom de domaine, mettez Y. Appuyez ensuite sur entrée :
* WARNING: Let
* WARNING: You cannot use Let
* Do you want to automatically configure HTTPS using Let
- (Cette étape est là que si vous avez mis un nom de domaine à l'étape 13) Mettez
Y puis appuyez sur entrée :
* This script will perform a HTTPS request to the endpoint https:
* The official check-IP service for this script, https:
* - will not log or share any IP-information with any third-party.
* If you would like to use another service, feel free to modify the script.
* I agree that this HTTPS request is performed (y/N): Y
- Mettez
Y puis appuyez sur entrée :
* DNS verified!
##############################################################
* Pterodactyl panel v1.4.2 with nginx on debian
* Database name: panel
* Database user: pterodactyl
* Database password: (censored)
* Timezone: Europe/Paris
* Email: example@example.xyz
* User email: example@example.xyz
* Username: example
* First name: Louis
* Last name: Ravignot Dos Santos
* User password: (censored)
* Hostname/FQDN: example.com
* Configure Firewall? false
* Configure Let's Encrypt? true
* Assume SSL? false
##############################################################

* Initial configuration completed. Continue with installation? (y/N): y
- Une fois l'installation du panel faite, mettez
N puis appuyez sur entrée :
######################################################################
* Pterodactyl Wings installation script @ v0.6.0
*
* Copyright (C) 2018 - 2021, Vilhelm Prytz, <vilhelm@prytznet.se>
* https://github.com/vilhelmprytz/pterodactyl-installer
*
* This script is not associated with the official Pterodactyl Project.
*
* Running debian version 10.
* Latest pterodactyl/wings is v1.4.3
######################################################################
* debian 10 is supported.
* Note: this script will not start Wings automatically (will install systemd service, not start it).
* Note: this script will not enable swap (for docker).
##########################################
* Note: If you installed the Pterodactyl panel on the same machine, do not use this option or the script will fail!
* Would you like to install MariaDB (MySQL) server on the daemon as well? (y/N): N
- Mettez
N puis appuyez sur entrée :
* Do you want to automatically configure UFW (firewall)? (y/N):
- Mettez
N puis appuyez sur entrée :
* WARNING: Let
* WARNING: You cannot use Let
* Do you want to automatically configure HTTPS using Let
- Mettez
Y puis appuyez sur entrée :
* Proceed with installation? (y/N): y
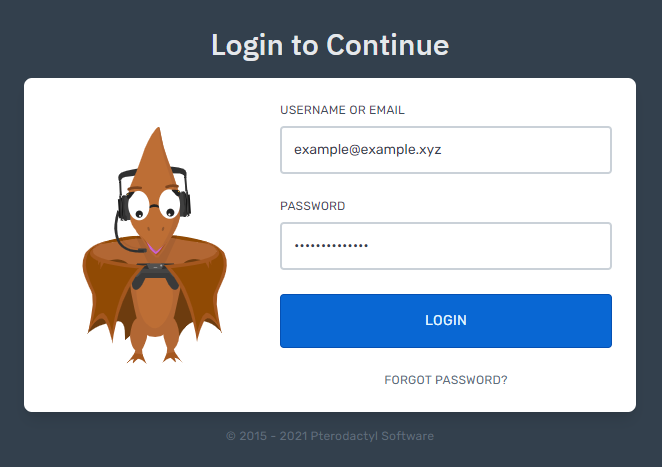
- Rendez vous ensuite sur l'IP ou le nom de domaine de votre machine puis connectez vous avec les identifiants définis plus tôt :
- Rendez vous ensuite dans la partie "admin"

- Une fois dans la partie admin, rendez vous dans la partie
Locations puis appuyez sur le bouton Create new :

- Mettez ensuite
FR-SLR dans la partie "Short Code" puis appuyez sur le bouton Create :

- Une fois crée, rendez vous dans la partie
Nodes puis appuyez sur le bouton Create new :

- Mettez les mêmes informations que sur l'image ci-dessous mais remplacez
example.com par votre nom de domaine. Puis appuyez sur "Create Node"
⚠️ Si vous utilisez une IP, remplacez example.com par votre IP et mettez la valeur Communicate Over SSL sur Use HTTP Connection

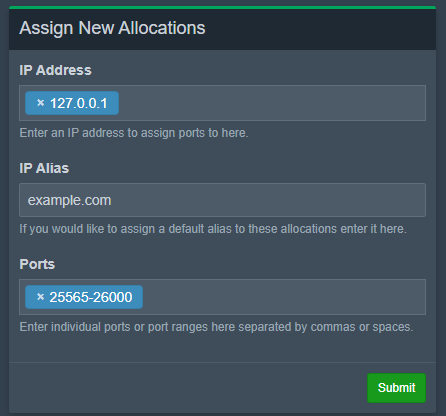
- Vous arrivez normalement sur la page ci-dessous :
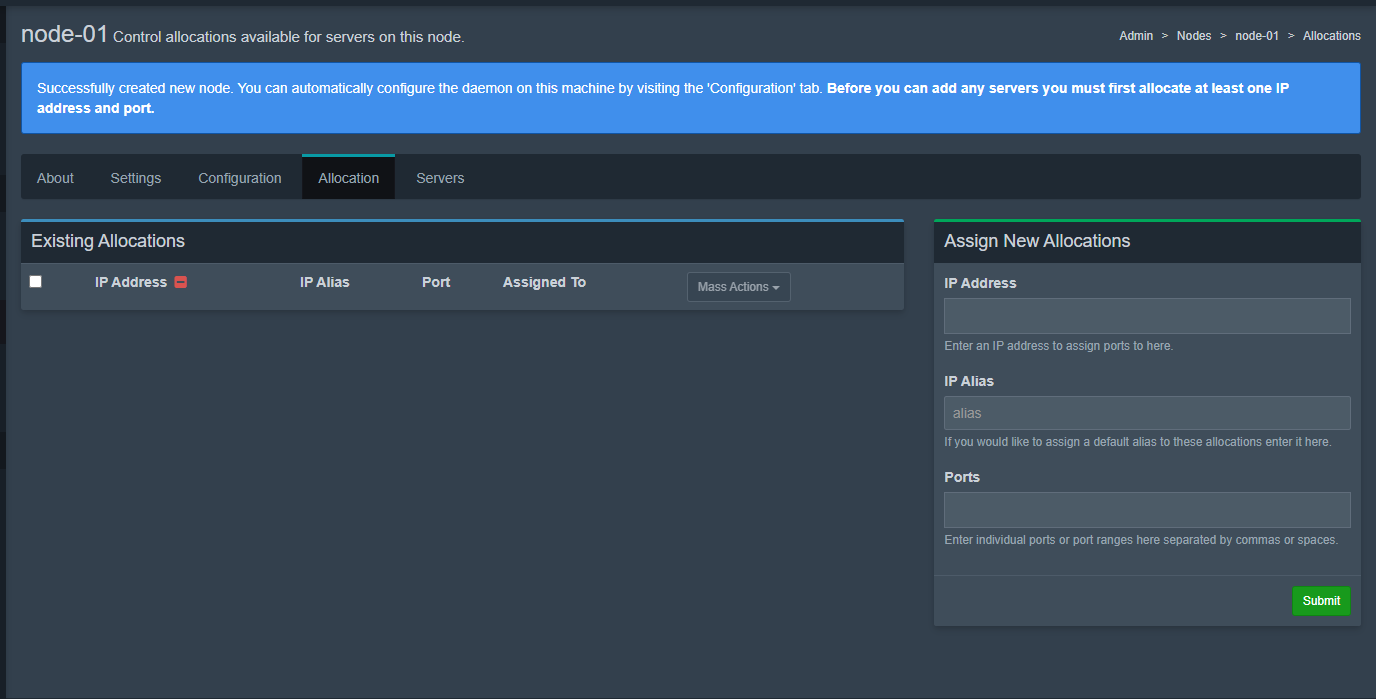
Dans la partie IP Address mettez l'IP de votre machine et non pas votre nom de domaine. Dans la partie IP Alias, mettez votre nom de domaine si vous en avez un. Dans la partie Ports écrivez 25565-26000 puis appuyez sur Submit. Voici un exemple sur l'image ci-dessous :
- Rendez vous maintenant dans la partie
Configuration de votre node :
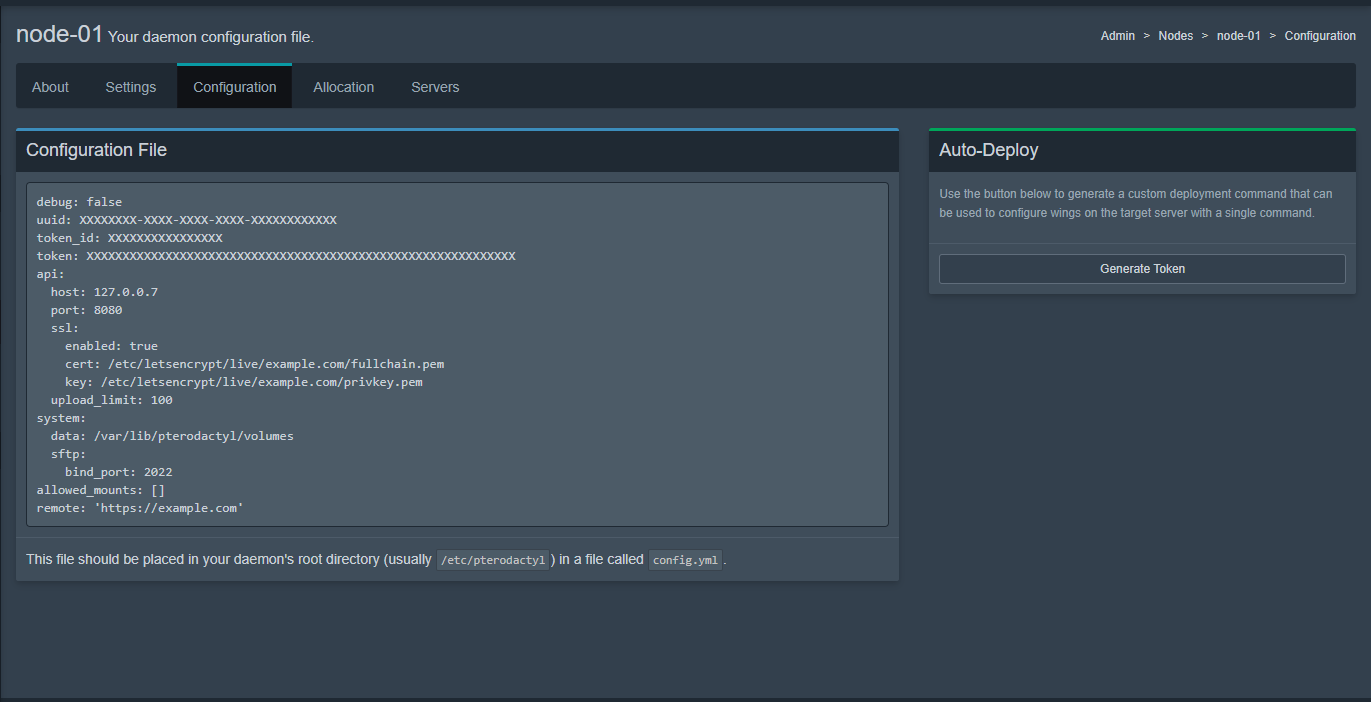
Cliquez sur le bouton Generate Token puis copier le résultat obtenu et coller le dans le SSH de votre VPS/Dédié

- Faites maintenant ces deux commandes :
systemctl start wings
systemctl enable wings
- Vous devriez normalement voir le cœur de votre node en vert comme ci-dessous :
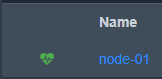
- Vous pouvez maintenant vous rendre dans la partie
Servers puis faire Create new pour créer votre premier serveur !
